
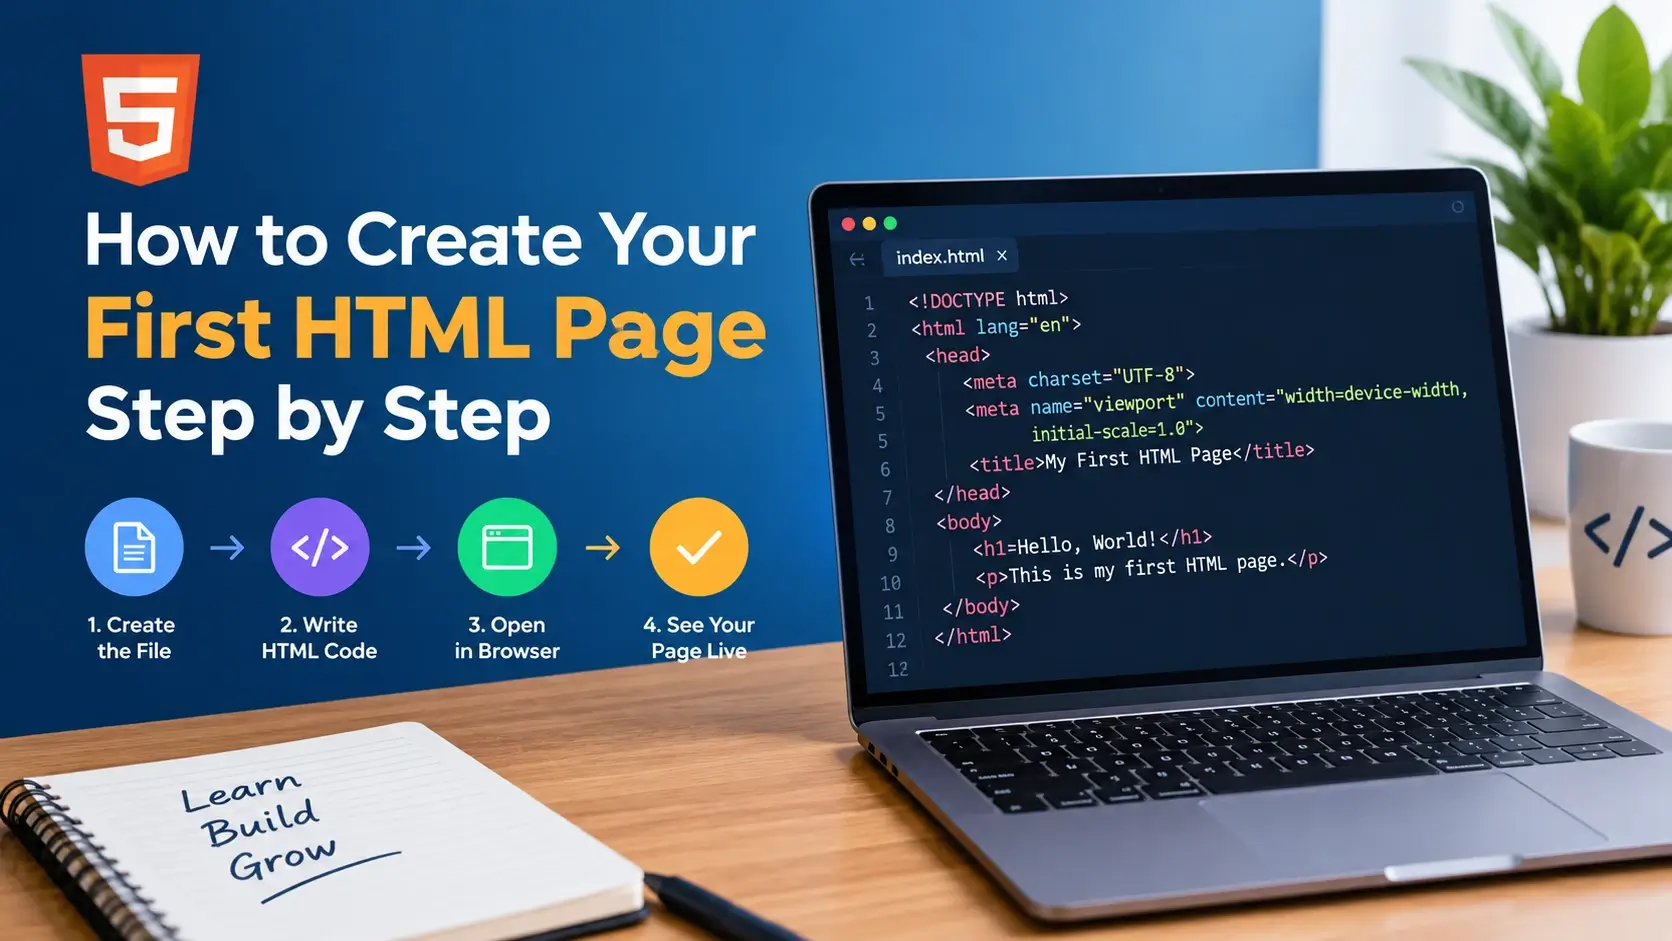
You do not need special software, a paid course, or years of experience to build a webpage. All you need is a plain text editor and a browser — both of which you already have.
In this step-by-step tutorial, you will create a complete, working HTML page from scratch. You will write every line of code yourself, save it as a file, and open it in your browser. By the end, you will have a real webpage you built yourself, and you will understand every line of it.
index.html and opened in your
browser. No installation required.
What You Need Before You Start
You need only two things to complete this tutorial. Neither requires installation, payment, or an internet connection.
A plain text editor
Notepad on Windows, TextEdit on Mac, or any code editor like VS Code, Sublime Text, or Notepad++. Any program that saves plain text works.
A web browser
Chrome, Firefox, Safari, Edge, or any modern browser. You almost certainly already have one.
Optional: a code editor
A dedicated code editor makes writing HTML easier by highlighting syntax, auto-closing tags, and catching errors. If you plan to keep learning web development, VS Code is a popular free choice.
But for this tutorial, either works. Notepad and TextEdit are perfectly fine for building your first page.
If you use TextEdit on macOS, switch it to plain text mode before you start. In the menu bar, choose Format → Make Plain Text. Otherwise, TextEdit will save your file with hidden formatting, which breaks HTML.
The Six Steps at a Glance
Here is the entire process you are about to follow. It takes about ten minutes from start to finish.
Each step is explained in detail below. Follow along at your own pace — you cannot break anything, and you can always start over.
Step 1: Create a New File
Open your text editor
Launch Notepad, TextEdit, or your code editor. You will see a blank page with a blinking cursor — that is where you will write your HTML.
Create a new file
In most editors, this is automatic when you open the program. In VS Code, use File → New File (or Ctrl+N / Cmd+N).
Save it as index.html
Use File → Save As and name the file index.html. This
is the standard name for the homepage of a website. Save it somewhere you can find
easily, like your Desktop.
The .html extension is critical. Without it, the browser will treat the
file as plain text instead of a webpage.
Notepad may silently add .txt to your file name. If your file ends up
named index.html.txt, change your Save As dialog to "All files" instead
of "Text documents" before saving.
After saving, your file system should look something like this:
Step 2: Write the Basic Structure
Every HTML page has the same skeleton. You will start by writing that skeleton, then add content inside it. Type or paste the following code into your file:
<!DOCTYPE html>
<html lang="en">
<head>
    <meta charset="UTF-8">
    <title>My First Page</title>
</head>
<body>

</body>
</html>
Nothing appears on the page yet because the body is empty. But this is a complete, valid HTML document. Let's look at what each line does.
Line by line
- <!DOCTYPE html>
- This is not a tag — it is a declaration. It tells the browser to use modern HTML5 standards. Always put it on the very first line.
- <html lang="en">
-
The root element of the page. Everything lives inside it. The
lang="en"attribute tells browsers and screen readers the content is in English. - <head>
- Contains information about the page — the title, character encoding, and links to stylesheets. Nothing inside the head is displayed in the main page area.
- <meta charset="UTF-8">
- Tells the browser to use UTF-8 encoding, which correctly displays accents, symbols, and emoji.
- <title>
- The page title. Browsers show it in the tab, and search engines use it as the clickable headline in results.
- <body>
- Everything visible on the page goes here. It is empty right now — that is why the page is blank.
You could write a page without the doctype, head, or title — browsers would still render it. But this structure is what makes a page professional, accessible, and ready for CSS and JavaScript later on.
Step 3: Add Content to the Body
Now let's add actual content inside the <body>. Replace the empty body
with this:
<!DOCTYPE html>
<html lang="en">
<head>
    <meta charset="UTF-8">
    <title>My First Page</title>
</head>
<body>

    <h1>Welcome to My First Page</h1>

    <p>
        This is my very first HTML page. I built it from scratch
        using just a text editor and a browser.
    </p>

</body>
</html>
Now the page has a heading and a paragraph. Two new elements appear here:
<h1>— a level-one heading, usually the main title of the page.<p>— a paragraph of text.
Both are block elements, which means each one starts on its own line and takes up the full width of the page.
Change "Welcome to My First Page" to your own name or a message. Save the file and refresh the browser. You should see your changes immediately.
Step 4: Add a Link and an Image
Two of the most important things you can add to a page are links and images. Let's add both. Update your file to match this:
<!DOCTYPE html>
<html lang="en">
<head>
    <meta charset="UTF-8">
    <title>My First Page</title>
</head>
<body>

    <h1>Welcome to My First Page</h1>

    <p>
        This is my very first HTML page. I built it from scratch
        using just a text editor and a browser.
    </p>

    <h2>My Favorite Website</h2>

    <p>
        <a href="https://inarlearn.com/">Visit Inar Learn</a>
        to keep learning web development.
    </p>

    <h2>A Picture</h2>

    <img src="photo.jpg" alt="A photograph of a mountain at sunrise">

</body>
</html>
Two new things were added here:
- An
<a>element creates a hyperlink. Thehrefattribute points to the destination URL. - An
<img>element displays an image. Thesrcattribute points to the image file, and thealtattribute provides a description for screen readers.
Also notice the two new <h2> elements — subheadings that organize the
page into sections.
The image element references photo.jpg. For it to display, that file must
exist in the same folder as your index.html. If you do not have an image
yet, the browser will show the alt text instead — that is expected.
Step 5: Save and Open in Your Browser
Now the exciting part — opening your page in a browser. Save the file first, then choose one of the following methods to open it.
Method 1: Double-click the file
Find index.html in your file explorer (Finder on Mac, File Explorer on
Windows). Double-click it. It will open in your default browser.
Method 2: Drag into an open browser
Open your browser first. Then drag the index.html file from your file
explorer into the browser window. The page will load.
Method 3: Right-click and open with
Right-click the file and choose Open With, then pick your preferred browser. This is useful if you have multiple browsers installed.
What you should see
Your page should display a heading, a paragraph, a link, and — if the image file exists — a picture. If the image does not appear, you will see the alt text instead.
In most browsers, you can press Ctrl+Shift+J or F12 to open developer tools and see how your page is structured. Right-click → Inspect on any element to see its HTML.
Step 6: Edit, Save, Refresh
This is the loop that will define your entire journey as a web developer. Get comfortable with it now:
Every time you make a change to your HTML:
- Save the file with Ctrl+S (Cmd+S on Mac).
- Switch to your browser.
- Refresh the page with F5 or Ctrl+R (Cmd+R on Mac).
- See your changes appear.
Try changing something
Edit the heading in your file. Change "Welcome to My First Page" to something like "Hello, world!" — then save and refresh. The browser shows the new text.
If the browser still shows the old version, you probably forgot to save the file. Look at the title bar in your text editor — if there is an asterisk next to the filename, the file has unsaved changes.
Keep the two windows side by side
For the fastest learning, open your text editor on one half of the screen and your browser on the other half. Edit, save, refresh — repeat. This rapid feedback loop is how you internalize HTML.
The Complete Page You Built
Here is the full, final version of what you have created. Compare it against your own file to make sure everything matches.
<!DOCTYPE html>
<html lang="en">
<head>
    <meta charset="UTF-8">
    <meta name="viewport" content="width=device-width, initial-scale=1.0">
    <title>My First Page</title>
</head>
<body>

    <h1>Welcome to My First Page</h1>

    <p>
        This is my very first HTML page. I built it from scratch
        using just a text editor and a browser.
    </p>

    <h2>My Favorite Website</h2>

    <p>
        <a href="https://inarlearn.com/">Visit Inar Learn</a>
        to keep learning web development.
    </p>

    <h2>A Picture</h2>

    <img src="photo.jpg" alt="A photograph of a mountain at sunrise">

</body>
</html>
There is one small addition in the final version — the viewport meta tag
<meta name="viewport" content="width=device-width, initial-scale=1.0">.
This tells mobile browsers to scale the page to the device width, which is the foundation
of responsive design.
Add it once and your page will look correct on phones and tablets.
Bonus: Making Your Page Look Better
Your page is functional, but it uses the browser's default styles. To make it look good, you add CSS. Here is a small stylesheet to get started.
<!DOCTYPE html>
<html lang="en">
<head>
    <meta charset="UTF-8">
    <meta name="viewport" content="width=device-width, initial-scale=1.0">
    <title>My First Page</title>
    <style>
        body {
            font-family: system-ui, sans-serif;
            max-width: 640px;
            margin: 40px auto;
            padding: 24px;
            background: #f8fafc;
            color: #0f172a;
            line-height: 1.7;
        }
        h1 {
            color: #0891b2;
            margin-bottom: 16px;
        }
        h2 {
            color: #343090;
            margin-top: 32px;
            margin-bottom: 12px;
        }
        a {
            color: #5f59f7;
            font-weight: 600;
        }
        a:hover {
            color: #0891b2;
        }
        img {
            max-width: 100%;
            height: auto;
            border-radius: 12px;
            margin-top: 12px;
        }
    </style>
</head>
<body>

    <h1>Welcome to My First Page</h1>

    <p>
        This is my very first HTML page. I built it from scratch
        using just a text editor and a browser.
    </p>

    <h2>My Favorite Website</h2>

    <p>
        <a href="https://inarlearn.com/">Visit Inar Learn</a>
        to keep learning web development.
    </p>

    <h2>A Picture</h2>

    <img src="photo.jpg" alt="A photograph of a mountain at sunrise">

</body>
</html>
The <style> block in the head contains CSS. It changes the font, sets a
maximum width, centers the page, adds background color, and styles the links and image.
You do not need to understand every CSS rule yet. Just know that CSS lives in the
<style> block and that it can transform a plain HTML page into
something that looks designed.
When you are ready to go deeper with styling, move your CSS to a separate file called
styles.css and link it with
<link rel="stylesheet" href="styles.css">. That is how professional
websites organize their code.
Common Problems and How to Fix Them
If your page does not look right, it is almost always one of these issues. Here is how to diagnose and fix each one.
1. The page shows plain text instead of rendering
index.html.txt

<!-- Browser treats it as a text file -->index.html
<!-- Rename file, remove .txt -->2. Nothing changed after editing
<!-- File not saved -->

Look for * next to the filename
in your editor's title bar.Press Ctrl+S to save
Then press Ctrl+R or F5
in the browser to refresh.3. Image does not appear
<img src="photo.jpg" alt="Photo">

<!-- File "photo.jpg" not in the
same folder as index.html --><!-- Option A: move photo.jpg
next to index.html -->
<!-- Option B: correct the path -->
<img src="images/photo.jpg" alt="Photo">4. The page looks like a wall of text
<!-- Missing heading tags -->
This is my page. Welcome.
Thank you for visiting.<h1>My Page</h1>
<p>This is my page.</p>
<p>Thank you for visiting.</p>5. Special characters look wrong
<!-- Missing charset -->
éééé

<!-- Accented characters display
as garbled text --><head>
<meta charset="UTF-8">
</head>6. The page does not work on mobile
<!-- Missing viewport tag -->

Page is rendered at desktop width
and shrunk to fit on mobile.<meta name="viewport"
content="width=device-width,
initial-scale=1.0">If something still looks off, paste your code into the W3C Markup Validation Service at validator.w3.org. It will flag any structural or syntax errors with a clear explanation.
Where to Go from Here
You have built your first HTML page. That is a real accomplishment — most people never get this far. Here is a practical path forward.
Experiment with content
Add more headings, paragraphs, lists, and links. Get comfortable editing and refreshing.
Learn CSS
Style your page with colors, fonts, spacing, and layout. CSS is what makes pages look designed.
Add more elements
Lists, tables, forms, images, and semantic elements like header and main.
Build a small project
A personal profile page, a recipe page, or a simple landing page. Project-based learning sticks.
Read the docs
MDN Web Docs is the standard reference for every HTML element and attribute.
Publish your page
Use GitHub Pages, Netlify, or Vercel to put your page online for free.
The developers who get good are the ones who keep building. Make a small page every week. Each project teaches you something the last one did not.
Frequently Asked Questions
1. What do I need to create my first HTML page?
You need only two things: a plain text editor (Notepad, TextEdit, VS Code, or any code editor) and a web browser. No special software, no installation, and no internet connection is required.
2. What should I name my first HTML file?
Name it index.html for the main page of a site, or something descriptive
like about.html or my-page.html for other pages. Always use
the .html extension and lowercase file names.
3. Why does my HTML show as plain text instead of a webpage?
The file is most likely saved with a .txt extension instead of
.html. Rename the file so it ends with .html, and the
browser will render it as a webpage.
4. How do I open an HTML file in a browser?
Double-click the .html file in your file explorer, or right-click and
choose Open With then pick your browser. You can also drag the file
into an open browser window.
5. Do I need to install anything to write HTML?
No. HTML is plain text, so any text editor works. A code editor like VS Code, Sublime Text, or Notepad++ provides helpful features like syntax highlighting and auto-completion, but they are optional.
6. How do I see changes after editing my HTML file?
Save the file in your text editor, then go to your browser and refresh the page with F5 or Ctrl+R (Cmd+R on Mac). The browser will reload the updated file.
7. Is index.html required?
Only if you plan to publish your site on a web server. The file index.html
is the default page served when someone visits the root URL. For local testing, any
filename ending in .html works.
8. What is the smallest valid HTML page?
The smallest valid HTML5 page is:
<!DOCTYPE html><html lang="en"><head><meta charset="UTF-8"><title>Title</title></head><body></body></html>.
You can save that and open it in any browser.
9. Why do I need the DOCTYPE?
The <!DOCTYPE html> declaration tells the browser to use modern
HTML5 standards mode. Without it, some browsers fall back to quirks mode, which can
cause layout differences.
10. Can I build a full website with just HTML?
Yes. You can build a working website with HTML alone. It will look plain, so most developers add CSS for design and JavaScript for interactivity, but neither is required to publish a page.
11. How do I make my HTML page look better?
Add CSS. You can write CSS inside a <style> block in the head of
your HTML file, or link to an external .css file with the
<link> element.
12. What should I build next after my first page?
Try a personal profile page, a small landing page, or a simple blog post layout. Each project reinforces what you learn. Once you are comfortable, add CSS for styling and then JavaScript for interactivity.
Key Takeaways
- You only need a plain text editor and a browser to build your first HTML page.
- Save your file with the
.htmlextension — no other extension will render correctly. - Every HTML page starts with
<!DOCTYPE html>, followed by<html>,<head>, and<body>. - Content goes in the body. Metadata goes in the head.
- Open your file by double-clicking it or dragging it into a browser window.
- The edit-save-refresh loop is the fastest way to learn HTML.
- Adding CSS in a
<style>block transforms a plain page into a designed one. - The viewport meta tag makes your page work on mobile devices.
- Most beginner problems come from the wrong file extension, missing save, or incorrect image paths.
- Validate your HTML at validator.w3.org to catch structural errors early.
What to Learn Next
Now that you have your first page working, the next step is to learn the language properly. Start with What Is HTML? for the fundamentals, then explore HTML Syntax Explained and HTML Elements vs Tags.
For deeper coverage, read HTML Elements, HTML Attributes, and HTML Nesting Explained. To understand what happens under the hood, see How Web Browsers Work and How Websites Work.
Practice Challenge
You have built your first page. Now build a second one — but this time, make it your own.
Create a file called about.html that includes:
- A
<title>describing the page - One
<h1>heading with your name - Two paragraphs introducing yourself
- An unordered list of three things you want to learn
- A link to your favorite website
- An image with a descriptive
altattribute - A
<style>block that changes at least three properties
Save it, open it in your browser, and see what you built. Then use the edit-save-refresh loop to refine it — change the colors, rewrite the text, replace the image. Every iteration makes you more comfortable with HTML.
If your page renders in a browser and looks how you intended, you have just completed your first real web development project. Well done.

 Inar Learn