
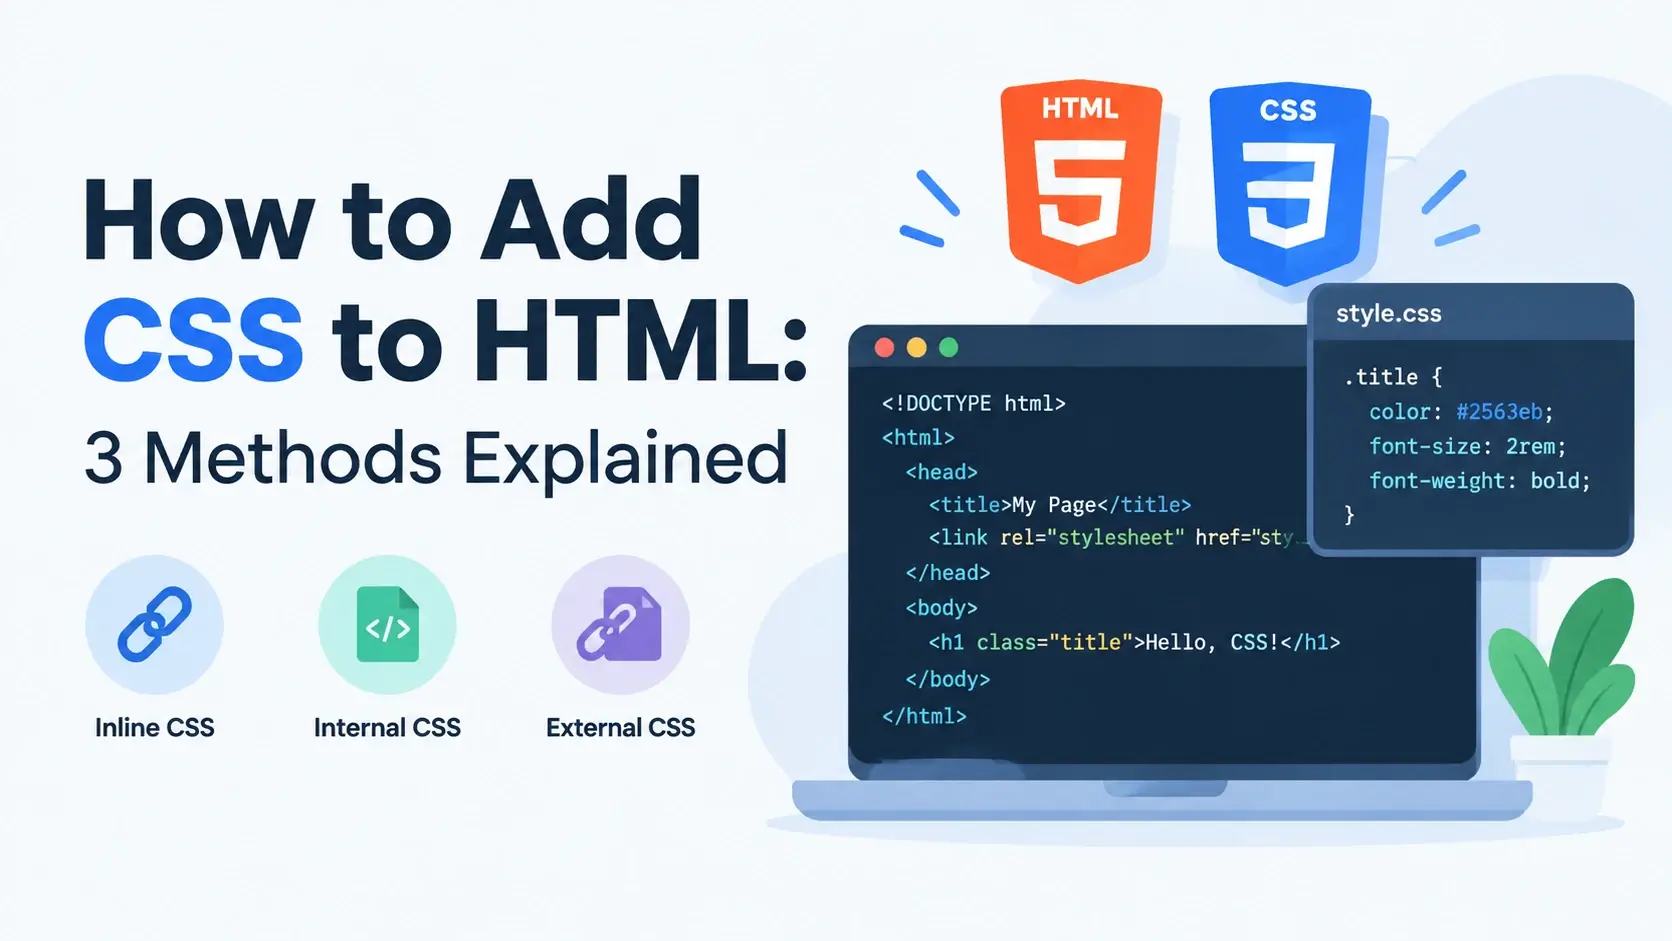
You have written your HTML. The page works, the content is there, and it looks like a document from 1995. Now you need CSS — and the very first thing you have to decide is where the CSS goes.
There are exactly three ways to attach CSS to HTML, plus one older variation that still appears in the wild. All four work, they can all be combined on the same page, and the choice you make has real consequences for caching, maintainability, and which rule wins when two of them disagree.
This guide covers each method in turn: the exact syntax, where it goes in the document, what it is good for, what it is bad at, and the specific mistakes that make styles silently fail to apply.
<link>, an internal style
block in the <head>, or an inline style on a single
element — and the external method is the right choice for almost everything.
The Three Methods at a Glance
Before the detail, here is the whole picture. Every method below attaches the same language — CSS — to the same document. They differ only in where the rules live and how much of the page they can reach.
External
A separate .css file linked from the head with <link>.
Reusable across every page. The standard choice.
Internal
A <style> block inside the <head> of one page.
Applies to that document only. Good for single pages and demos.
Inline
A style attribute written on one individual element.
Highest priority, lowest reusability. Last resort only.
And the fourth option, which is really a variation on the external method:
@import
Loads another stylesheet from inside a CSS file, using @import url("...").
Valid but discouraged — it delays rendering and hides dependencies.
Deprecated HTML
Old presentational tags and attributes such as <font>, <center>, and bgcolor.
Not CSS at all, and removed from the specification.
Use external for real projects, internal for a single page or a quick experiment, and inline only when nothing else can reach the element. If you remember nothing else, remember that.
Method 1 — External Stylesheet
An external stylesheet is a separate file with a .css
extension, connected to the HTML with a <link> element. It is how
virtually every real website is built.
The two files
You need an HTML file and a CSS file sitting side by side in the same folder:
The HTML side
The connection is made with one line inside the <head>:
<!DOCTYPE html>
<html lang="en">
<head>
    <meta charset="UTF-8">
    <title>My Page</title>

    <link rel="stylesheet" href="styles.css">
</head>
<body>
    <h1>Hello</h1>
    <p>This page is styled by an external stylesheet.</p>
</body>
</html>
The CSS side
The stylesheet itself contains nothing but CSS rules. No <style> tag,
no HTML, no <html> wrapper:
/* styles.css */

body {
    font-family: system-ui, sans-serif;
    background: #f8fafc;
    padding: 32px;
    line-height: 1.7;
    color: #334155;
}

h1 {
    color: #0891b2;
    margin: 0 0 16px;
}
That is the entire mechanism. The browser requests styles.css, reads the
rules, and applies them to the elements that match.
The examples below use a <style> block so they render in the preview
panels. In a real project, the CSS would live in styles.css and the HTML
would contain a <link> instead — everything else is identical.
The attributes that matter
styles.css or css/styles.css, or an
absolute URL.
Linking more than one stylesheet
You can link as many stylesheets as you like. They cascade in the order they appear, so a later file can override an earlier one:
<head>
    <link rel="stylesheet" href="reset.css">
    <link rel="stylesheet" href="typography.css">
    <link rel="stylesheet" href="layout.css">
    <link rel="stylesheet" href="components.css">
</head>
Order is not decoration — it is part of the cascade. If layout.css and
components.css both set the same property on the same element at the same
specificity, the later file wins.
Conditional stylesheets
The media attribute lets a stylesheet apply only in certain conditions. The
most common use is a dedicated print stylesheet:
<link rel="stylesheet" href="styles.css">
<link rel="stylesheet" href="print.css" media="print">
<link rel="stylesheet" href="mobile.css" media="(max-width: 600px)">
The browser still downloads these files, but it only applies them when the
condition matches. For purely responsive rules, a @media block inside one
stylesheet is usually simpler.
Why this is the default
One file styles the entire site. The browser caches it once, so every other page loads faster.
Structure and presentation stay completely separate — HTML stays clean and readable.
What to watch for
An extra network request on first load, though it is cached afterward.
A wrong file path fails silently — the page simply renders unstyled with no error.
Method 2 — Internal Stylesheet
An internal stylesheet (also called an embedded stylesheet) puts the CSS
inside the HTML document itself, wrapped in a <style> element in the
<head>.
The syntax
<!DOCTYPE html>
<html lang="en">
<head>
    <meta charset="UTF-8">
    <title>Internal Stylesheet</title>

    <style>
        body {
            font-family: system-ui, sans-serif;
            background: #f8fafc;
            padding: 28px;
            line-height: 1.7;
            color: #334155;
        }
        h1 {
            color: #0891b2;
            margin: 0 0 12px;
        }
        .note {
            background: #f0fdff;
            border-left: 4px solid #0891b2;
            border-radius: 8px;
            padding: 14px 18px;
            color: #0f172a;
        }
    </style>
</head>
<body>
    <h1>Internal stylesheet</h1>
    <p>The CSS lives in a style element inside the head.</p>
    <p class="note">It applies to this document only.</p>
</body>
</html>
Notice that the content inside <style> is raw CSS — the same rules you
would put in an external file, with no wrapping and no escaping. The browser reads it
exactly as it would read a linked stylesheet.
Where it belongs
The <style> element goes inside <head>, before any
content. Browsers will often accept it elsewhere, but placing it there is valid HTML and
avoids a flash of unstyled content while the page is still parsing.
In HTML5 you should write <style>, not
<style type="text/css">. Browsers assume CSS by default and the
attribute was removed from the specification.
When internal styles are the right choice
- A single-page site. If there is only one page, a separate file adds a request for no benefit.
- Quick experiments and demos. One file, ready to share, no folder structure to explain.
- Critical CSS. The small set of rules needed to render the visible part of the page can be inlined in the head so it arrives instantly.
- A page with genuinely unique styling. A one-off landing page that shares nothing with the rest of the site.
Why use it
No extra request — the styles arrive with the HTML.
Everything is in one file, which is convenient for demos and single pages.
What to watch for
The styles cannot be reused by any other page on the site.
They are re-downloaded on every page load instead of being cached once.
Method 3 — Inline Styles
An inline style is written directly on a single element using the global
style attribute. It applies to that one element and nothing else.
The syntax
<!DOCTYPE html>
<html lang="en">
<head>
    <meta charset="UTF-8">
    <title>Inline Styles</title>
    <style>
        body { font-family: system-ui, sans-serif; padding: 28px; background: #f8fafc; }
    </style>
</head>
<body>
    <h1 style="color: #0891b2; margin: 0 0 12px;">Inline styles</h1>

    <p style="color: #475569; line-height: 1.7;">
        Each element carries its own declarations in a style attribute.
    </p>

    <p style="background: #f0fdff; border-left: 4px solid #0891b2; padding: 14px 18px; border-radius: 8px;">
        This one has three declarations in its attribute.
    </p>
</body>
</html>
The value of the style attribute is a declaration block without the curly
braces. Declarations are separated by semicolons, exactly as inside a normal rule.
What inline styles cannot do
This is the important part, and it is why inline styles are a last resort rather than a normal tool. An inline style has no selector, so it cannot express anything that depends on matching elements:
- No pseudo-classes. There is no way to write a hover or focus state inline.
- No pseudo-elements.
::beforeand::afterare unavailable. - No media queries. An inline style cannot change at a different screen width.
- No grouping. Each element must repeat the same declarations individually.
- No reuse. Changing a style means editing every element that carries it.
An inline style beats every selector-based rule, including ID selectors. That sounds
convenient until you need to override it — at which point you are either editing the
HTML directly or reaching for !important.
When inline styles are genuinely appropriate
- A value set by JavaScript. Libraries that animate an element often write to
element.styledirectly. - HTML email. Many email clients strip
<style>blocks, so inline styles are the only reliable option. - Content generated by a CMS. Sometimes the markup comes from a system you cannot change.
- A genuine one-off override. A single element that must differ from every other element of its kind.
Why it exists
Highest priority, so it always applies.
Works where external and internal styles are stripped or unavailable.
What to watch for
Cannot be reused, cached, or overridden easily.
Mixes presentation back into the markup, undoing the whole point of CSS.
A Fourth Option — @import
@import is a CSS at-rule that loads another stylesheet from inside a CSS file.
It is technically a way of adding CSS, but it behaves differently from
<link> and is generally discouraged.
/* styles.css */

@import url("reset.css");
@import url("typography.css");
@import url("components.css");

body {
    font-family: system-ui, sans-serif;
}
The rule that trips people up
@import must appear at the very top of the stylesheet, before any rule. If a
single declaration comes first, every @import after it is ignored — silently,
as always.
body {
    margin: 0;
}

@import url("reset.css");@import url("reset.css");
body {
margin: 0;
}Why it is discouraged
When a browser sees <link href="styles.css">, it discovers the file
immediately and starts downloading it in parallel with everything else. When that file
begins with @import, the browser has to finish downloading and parsing the
parent sheet before it even knows the imported file exists. Each level of import adds
another serial round trip.
The fix is simple: use multiple <link> elements instead. The browser can
then fetch them all at once.
<!-- HTML -->
<link rel="stylesheet" href="styles.css">

/* styles.css */
@import url("reset.css");
@import url("layout.css");<!-- HTML -->
<link rel="stylesheet" href="reset.css">
<link rel="stylesheet" href="layout.css">
<link rel="stylesheet" href="styles.css">
@import is not broken and it is not deprecated. You will encounter it in
older codebases and in some CSS frameworks. Just do not choose it for new work when
<link> does the job better.
Which Method Wins? Cascade Order
All three methods can be used on the same page, and they usually are. When two of them set the same property on the same element, the browser resolves it using the cascade.
The surprising part is that the delivery method only matters for one of them. External and internal styles are both author styles resolved by normal specificity and source order — they are on equal footing. Only inline styles get a built-in advantage.
Here is that in practice. The same paragraph is targeted by an element rule, a class rule, and an inline style:
<!DOCTYPE html>
<html lang="en">
<head>
    <meta charset="UTF-8">
    <title>Cascade Order</title>
    <style>
        body { font-family: system-ui, sans-serif; padding: 28px; background: #f8fafc; }
        p {
            color: #16a34a;
            line-height: 1.7;
        }
        .note {
            color: #0891b2;
            font-weight: 600;
        }
    </style>
</head>
<body>
    <p>Element selector — green.</p>

    <p class="note">
        Class selector — teal, because a class beats an element.
    </p>

    <p class="note" style="color: #e11d48;">
        Inline style — red, because inline beats both.
    </p>
</body>
</html>
Read the three paragraphs carefully. The first is green. The second is teal, even though both rules match it, because a class selector outweighs an element selector. The third is red, even though the class rule also matches it, because an inline style sits above everything in the author stylesheet.
A declaration marked !important in an external or internal stylesheet will
override a normal inline style. An inline style marked
!important overrides everything. This is exactly why scattering
!important around makes a stylesheet so hard to reason about.
Order still matters between files
Since external and internal styles are equal in weight, the tie-breaker is source order.
The browser treats every linked stylesheet and every <style> block as
one long sequence, in the order they appear in the document:
<head>
    <link rel="stylesheet" href="base.css">

    <style>
        /* This comes after base.css, so it wins ties */
        h1 { color: #0891b2; }
    </style>

    <link rel="stylesheet" href="theme.css">
    <!-- This comes last of all, so it wins the most ties -->
</head>
That is the whole ordering rule for author styles: specificity first, then the order in which the browser encountered the rules.
Side-by-Side Comparison
Here is every meaningful difference in one table.
| Aspect | External | Internal | Inline |
|---|---|---|---|
| Where it lives | Separate .css file |
<style> in the head |
style attribute on an element |
| Reachable from | Every page on the site | Only the page it is written in | Only that one element |
| Browser caching | Yes — fetched once for the whole site | No — re-downloaded with every page | No — part of the HTML response |
| Extra request | One, on first load only | None | None |
| Keeps HTML clean | Completely | Partially | Not at all |
| Supports selectors | Yes | Yes | No — no selector at all |
| Supports pseudo-classes | Yes, including :hover |
Yes | No |
| Supports media queries | Yes | Yes | No |
| Specificity | Normal author rules | Normal author rules | Beats all normal rules |
| Easy to override | Yes | Yes | No — needs !important |
| Works in HTML email | Rarely | Rarely | Usually — the only reliable option |
| Best for | Every real project | Single pages, demos, critical CSS | JS-set values, email, one-off overrides |
Look at “Reachable from”. Only the external method lets one file style an entire website. That is the reason it is the default for everything, and the other two are exceptions.
All Three Methods Together
A real page can use all three at once, and it usually does. Here is a document that links an external file, adds an internal block, and carries one inline style — with a comment marking where each would go in production.
<!DOCTYPE html>
<html lang="en">
<head>
    <meta charset="UTF-8">
    <meta name="viewport" content="width=device-width, initial-scale=1">
    <title>All Three Methods</title>

    <!-- Method 1: external stylesheet -->
    <!-- In a real project this line replaces the style block below -->
    <!-- <link rel="stylesheet" href="styles.css"> -->

    <!-- Method 2: internal stylesheet -->
    <style>
        body {
            font-family: system-ui, sans-serif;
            background: #f8fafc;
            padding: 28px;
            line-height: 1.7;
            margin: 0;
        }
        .card {
            background: #fff;
            border: 1px solid #e2e8f0;
            border-radius: 14px;
            padding: 22px;
            box-shadow: 0 12px 28px -22px rgba(15, 23, 42, 0.4);
        }
        .card__title {
            color: #0891b2;
            margin: 0 0 8px;
            font-size: 1.15rem;
        }
        .card__text {
            color: #475569;
            margin: 0 0 14px;
        }
        .btn {
            display: inline-block;
            background: #0891b2;
            color: #fff;
            text-decoration: none;
            font-weight: 600;
            font-size: 0.9rem;
            padding: 10px 18px;
            border-radius: 9px;
        }
    </style>
</head>
<body>

    <div class="card">
        <h2 class="card__title">Three methods, one page</h2>

        <p class="card__text">
            The card, the title, and this button are all styled by the
            internal style block above.
        </p>

        <!-- Method 3: inline style — beats everything above -->
        <a class="btn" style="background: #7c3aed;" href="#">
            Inline style wins
        </a>
    </div>

</body>
</html>
The button has a class that sets its background to teal, and an inline style that sets it to violet. The inline style wins, and the button renders violet. That is the cascade in three lines of markup.
How to Choose
The decision is simpler than the table makes it look. Ask one question: does this CSS need to apply to more than one thing?
A practical rule set
- Default to external. Every real project, every time, until something forces you otherwise.
- Use internal when the page is genuinely a single document — a demo, a test file, a one-off landing page.
- Use inline only when nothing else can reach the element: a value written by JavaScript, an email template, or a CMS you cannot edit.
- Never mix inline styles into a normal stylesheet workflow. Once a project has a few of them, overriding anything becomes guesswork.
- Skip @import for new code and use
<link>elements instead.
External styles are the rules of the house. Internal styles are the rules of one room. Inline styles are a sticky note on one chair. All three are useful — but you would not furnish a house with sticky notes.
Common Mistakes
Every mistake below produces styling that simply does not appear, with no error message. These are the ones that come up most often when adding CSS to HTML.
1. A wrong file path in href
<link rel="stylesheet" href="styles.css">

<!-- Browser looks in the project root,
file is actually at css/styles.css --><link rel="stylesheet" href="css/styles.css">Paths are relative to the HTML file, not to the project root. This is the single most common reason an external stylesheet appears not to work.
2. A missing rel attribute
<link href="styles.css"><link rel="stylesheet" href="styles.css">
Without rel="stylesheet", the browser does not know what kind of resource it
is loading and will not apply it as CSS.
3. Putting the style element in the body
<body>
    <style>
        h1 { color: red; }
    </style>
    <h1>Title</h1>
</body><head>
<style>
h1 { color: red; }
</style>
</head>
<body>
<h1>Title</h1>
</body>4. HTML inside a .css file
<style>
    body { margin: 0; }
</style>body { margin: 0; }
The external file contains CSS and nothing else. No <style> tag, no
<html> wrapper, no <head>. Adding them makes the
whole stylesheet unparseable.
5. Forgetting the semicolon between inline declarations
<p style="color: red
font-size: 16px;">Text</p><p style="color: red;
font-size: 16px;">Text</p>6. Using CSS syntax inside the style attribute
<p style="p { color: red; }">Text</p><p style="color: red;">Text</p>
The style attribute holds declarations, not a rule. There is no selector and
no curly braces — the element itself is the target.
7. Trying to use :hover inline
<a style=":hover { color: red; }" href="#">
    Link
</a><style>
.link:hover { color: red; }
</style>
<a class="link" href="#">Link</a>8. An @import that is not first
body { margin: 0; }

@import url("reset.css");@import url("reset.css");
body { margin: 0; }9. Loading a stylesheet with the wrong extension
<link rel="stylesheet" href="styles.css.txt"><link rel="stylesheet" href="styles.css">
Text editors sometimes append .txt when saving. Servers may also serve
.css files with the wrong MIME type, which causes browsers in strict mode to
refuse them.
When no styling appears at all, open DevTools and look at the Network tab. If
styles.css is not listed, the file was never requested — which means the
problem is in the <link> tag, not in the CSS.
Best Practices
These habits keep the connection between HTML and CSS clean as a project grows.
Default to external
One stylesheet linked from every page. It is the only method that scales.
Keep CSS in its own folder
A css/ directory makes paths predictable and keeps the root tidy.
Link in the head, before content
Placing the link early avoids a flash of unstyled content while the page loads.
Use multiple link elements
Prefer several <link> tags over a chain of @import rules.
Avoid inline styles
They cannot be reused, cached, or overridden without !important.
Style with classes, not attributes
If you are tempted to use an inline style, a class is almost always the better answer.
Keep one concern per file
reset.css, layout.css, components.css — easy to find things.
Add a print stylesheet
media="print" on a small extra file dramatically improves printing.
Verify in the Network tab
Confirm the stylesheet actually loaded before debugging anything inside it.
One external stylesheet, linked from the head of every page, with inline styles reserved for the rare case where nothing else can reach the element.
Frequently Asked Questions
1. What are the three ways to add CSS to HTML?
An external stylesheet linked with the <link> element, an internal
<style> block inside the <head> element, and
inline styles written on individual elements with the style attribute.
2. Which method of adding CSS should I use?
Use an external stylesheet for almost everything. It is cached by the browser, reusable across every page, and keeps structure separate from presentation. Use internal styles for single-page demos and inline styles only as a last resort.
3. Can I use more than one method on the same page?
Yes. External, internal, and inline styles all work together on the same page. They are combined by the cascade, where inline styles have the highest priority and the other two are resolved by specificity and source order.
4. Why is my external stylesheet not loading?
The most common causes are a wrong file path in the href attribute, a
missing or misspelled rel="stylesheet", the <link>
element placed outside the head, or the file being saved with the wrong extension.
Check the browser’s Network tab to see whether the file was requested at all.
5. Does the order of stylesheets matter?
Yes. If two linked stylesheets set the same property at the same specificity, the one linked later wins. Style blocks and inline styles follow the same rule, so a style block placed after a link can override it.
6. Do inline styles override everything?
Inline styles beat every normal selector-based rule, including ID selectors. However,
a declaration marked !important in a stylesheet will still override a
normal inline style, and an inline style marked !important overrides
everything.
7. Is the type attribute needed on a style tag?
No. In HTML5 the type="text/css" attribute is unnecessary and should be
omitted. Browsers assume CSS by default when they encounter a
<style> element.
8. Can I put a style tag in the body?
Browsers usually accept it, but it is invalid HTML and can cause the styles to be
applied inconsistently. The <style> element belongs inside the
<head>, before any content.
9. What is @import and should I use it?
@import loads another stylesheet from inside a CSS file. It must appear
before any rules. It is generally discouraged because the browser cannot discover the
imported file until it has already parsed the parent stylesheet, which delays
rendering. Multiple <link> elements are preferred.
10. How do I add CSS to a single page only?
Use an internal <style> block in that page’s head. It applies only
to that document and does not affect any other page on the site.
11. Can I add CSS to HTML email the same way?
Partly. Many email clients strip <style> blocks and external
stylesheets, so HTML email is usually styled with inline styles on each element.
Layout is typically done with tables because email clients have limited CSS support.
12. Do inline styles affect performance?
They increase the size of every HTML response, cannot be cached separately, and must be downloaded again on every page. External stylesheets are fetched once and reused, which is faster for any site with more than one page.
Key Takeaways
- There are three ways to add CSS: external, internal, and inline.
- External styles use
<link rel="stylesheet" href="styles.css">in the head. - Internal styles use a
<style>block inside the head. - Inline styles use the
styleattribute on a single element. - Only the external method can style an entire website from one file.
- External stylesheets are cached; internal and inline styles are not.
- Inline styles beat every normal selector rule, including IDs.
- External and internal styles have equal weight — ties go to source order.
- Inline styles cannot express hover states, pseudo-elements, or media queries.
@importworks but delays rendering; prefer multiple<link>tags.- A wrong file path fails silently — check the Network tab first.
- Default to external, use internal for single pages, and reserve inline for last resorts.
What to Learn Next
Now that the CSS is connected, the next step is to make sure the rules themselves are correct. Start with CSS Syntax Explained and CSS Rules: Selectors, Properties and Values.
From there, explore CSS Selectors Explained and The CSS Box Model. When you are ready to build layouts, read CSS Flexbox Guide and CSS Grid Guide, then move on to Responsive Web Design and CSS Custom Properties.
If you are still getting oriented, read What Is CSS?, What Is CSS Used For?, and HTML vs CSS for the surrounding context.
Practice Challenge
The only way to feel the difference between the three methods is to use all three on the same page and watch them interact. This exercise takes about fifteen minutes.
- Create a folder and inside it make two files:
index.htmlandstyles.css. - In
index.html, write a full document with a heading, two paragraphs, and a link. - Method 1: add
<link rel="stylesheet" href="styles.css">inside the head. - In
styles.css, style thebodywith a font family, a background color, and padding. Refresh and confirm the page changes. - Now break it on purpose: rename the file to
style.csswithout updating the link, and refresh. Note that the page renders unstyled with no error. Fix the path. - Method 2: add a
<style>block in the head and give the heading a color. - Link a second stylesheet,
theme.css, after the first one, and set the same heading color there. Refresh — the later file wins. - Method 3: add
style="color: #e11d48;"to the heading in the HTML and refresh. The inline style wins over both stylesheets. - Try to make the heading bold on hover using only the inline style. Confirm that it is impossible, then add a
:hoverrule to the stylesheet instead. - Open DevTools, inspect the heading, and find where each of the three sources appears in the Styles panel.
- Finally, remove the inline style and move the internal block into the external file, so that only the external method remains.
If you complete those steps, you have used all three methods, seen the cascade resolve a conflict between them, watched an external stylesheet fail silently on a wrong path, and discovered for yourself why inline styles cannot replace a stylesheet. That is the whole lesson — and once you have felt it, choosing between the three stops being a question you have to look up.

 Inar Learn